
How to Make Homemade Chicken Stock
Ditch the salty, flavorless cartons from the grocery store. Learn how to transform leftover bones and vegetable scraps into liquid gold.
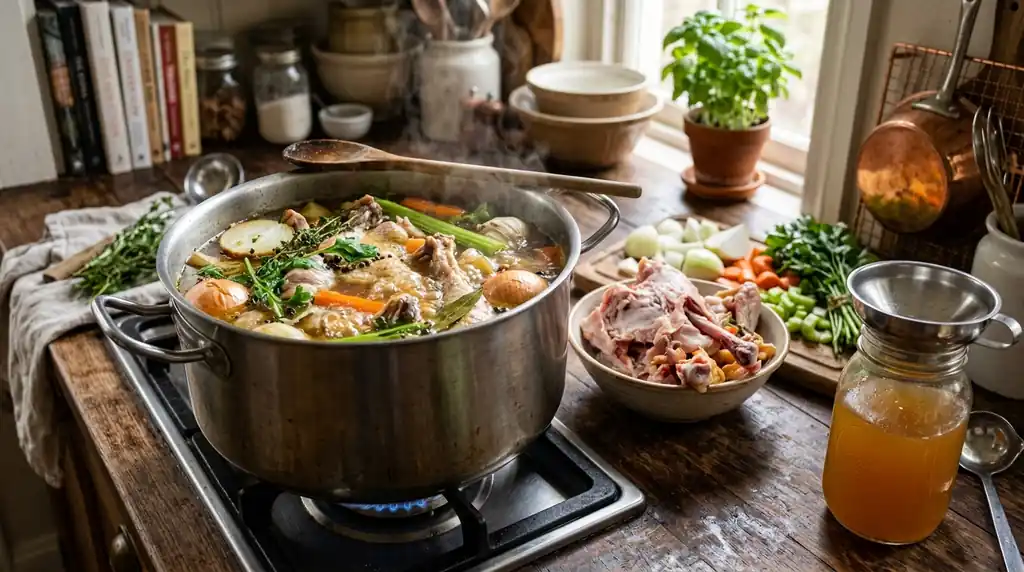
The Foundation of Great Soups and Sauces
In classical cooking, a high-quality stock is the cornerstone of exceptional flavor. It provides a rich, complex, and savory backbone to soups, risottos, pan sauces, and braises. While store-bought cartons are convenient, they are fundamentally inferior.
Commercial broths are mass-produced, heavily salted to hide their lack of depth, and virtually devoid of gelatin. A proper homemade stock is rich in naturally extracted collagen, which gives the liquid a velvety, lip-smacking texture that cannot be faked.
The Magic of Bones and Connective Tissue
The secret to a great stock is not just meat; it is the bones, cartilage, and connective tissue. When simmered gently for hours, the collagen in these tissues slowly breaks down and melts into gelatin. This is why a great homemade stock will literally solidify like Jell-O when you put it in the refrigerator.
- Save your scraps. Keep a large ziplock bag in your freezer. Every time you roast a chicken, eat bone-in wings, or peel onions and carrots, throw the bones and vegetable scraps into the bag until it is full.
- Do not use starchy vegetables like potatoes, which will turn the stock cloudy, or cruciferous vegetables like broccoli, which will impart a bitter, sulfurous flavor.
Step-by-Step: Simmering Liquid Gold
Making stock requires very little active work, but it demands patience and gentle heat.
- Step 1: Place your saved chicken bones (or a cheap package of raw chicken wings/backs/necks) into a large stockpot. Add your aromatic vegetables (roughly chopped onions, carrots, and celery, known as mirepoix).
- Step 2: Add aromatics. Toss in a few cloves of smashed garlic, a handful of whole black peppercorns, a couple of bay leaves, and a sprig of fresh thyme or parsley. DO NOT ADD SALT.
- Step 3: Cover with cold water. Ensure the bones and vegetables are submerged by about 2 inches of water. Always start with cold water to slowly draw out the proteins and ensure a clear stock.
- Step 4: Place the pot over medium-high heat until it just barely reaches a boil.
- Step 5: Immediately drop the heat to the absolute lowest setting. A stock should never violently boil; the aggressive agitation will emulsify the fat and impurities into the liquid, resulting in a cloudy, greasy, bitter stock. It should lazily bubble, with one or two bubbles breaking the surface every second.
- Step 6: Skim the scum. During the first 30 minutes, a gray, foamy scum (coagulated proteins) will rise to the surface. Use a ladle or a fine-mesh skimmer to gently scoop this foam away and discard it.
- Step 7: Let it simmer gently, uncovered, for 4 to 6 hours. The water will reduce, concentrating the flavors.
- Step 8: Turn off the heat and let it cool slightly. Carefully strain the entire contents through a fine-mesh sieve lined with cheesecloth into a large bowl. Discard the spent bones and mushy vegetables; they have given up all their flavor.
Storage and Usage
Once strained, you must cool the stock quickly to prevent bacterial growth.
- Place the bowl of strained stock into an ice bath in your sink, stirring occasionally until it drops to room temperature.
- Transfer the stock to airtight containers and refrigerate overnight. The next day, a solid disc of white chicken fat will have risen to the top and solidified. Scrape this fat off and discard it (or save it for roasting potatoes, known as schmaltz).
- Stock will keep in the fridge for 4 days, but it freezes beautifully for up to 6 months. Freeze it in silicone ice cube trays for easy access when you only need a tablespoon or two for a pan sauce.
Keeping homemade stock in your freezer is the ultimate flex for a home cook, ensuring that a restaurant-quality meal is always within reach.