
The Ultimate Guide to Knife Sharpening with a Whetstone
A dull knife is the most dangerous tool in the kitchen. Learn the ancient, highly effective art of sharpening your blades on a whetstone for razor-sharp precision.
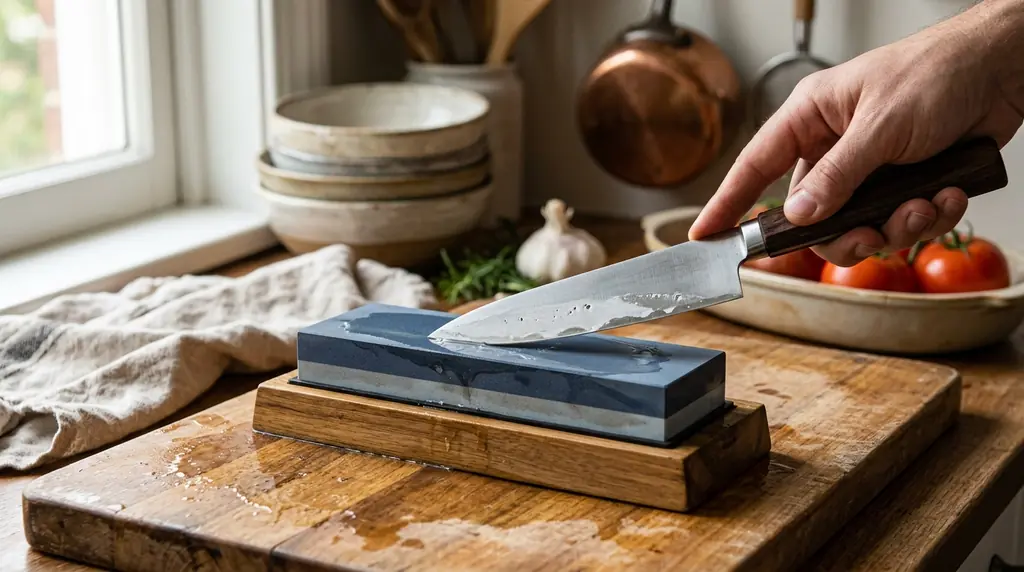
Why Whetstones Are Superior
Many home cooks rely on pull-through sharpeners to maintain their knives. While these devices are convenient, they are incredibly aggressive. They tear away large ribbons of metal, artificially reducing the lifespan of your blade, and they rarely create a truly refined edge.
A whetstone (or water stone) is the tool of choice for professional chefs and knife makers worldwide. It allows you to control the exact angle of the bevel and gently polish the metal into a microscopic, razor-sharp edge that glides effortlessly through tomatoes and delicate proteins.
Understanding Grit Levels
Whetstones come in various "grits," much like sandpaper. A lower number means a coarser stone, while a higher number indicates a finer, polishing stone.
- Coarse Stones (under 1000 grit): Used for repairing chipped blades or establishing a new edge on a completely blunt knife.
- Medium Stones (1000 to 3000 grit): The workhorse of knife sharpening. A 1000-grit stone is perfect for routine maintenance and bringing a dull edge back to life.
- Finishing Stones (4000 to 8000+ grit): Used solely for polishing the edge to a mirror finish, resulting in terrifying sharpness.
The Step-by-Step Sharpening Process
Sharpening requires patience, muscle memory, and a steady hand. Do not rush this process. Set aside 20 minutes in a quiet kitchen.
- Step 1: Soak the stone. If you are using a traditional water stone, submerge it in a container of water for 10 to 15 minutes until it stops releasing air bubbles.
- Step 2: Secure the stone. Place it on a wet towel or a dedicated rubber base on your counter so it does not slide while you work.
- Step 3: Find your angle. For most Western chef's knives, the ideal angle is between 15 and 20 degrees. You can find this angle by placing the blade flat on the stone, then lifting the spine until you can just slide two stacked pennies underneath it.
- Step 4: The grip. Hold the handle firmly with your dominant hand. Place the fingers of your non-dominant hand directly on the blade, close to the edge. This hand applies downward pressure.
- Step 5: The stroke. Starting at the heel of the blade, push the knife forward and diagonally across the stone, sliding your way toward the tip. Apply moderate pressure on the push stroke, and release the pressure as you pull the knife back to the starting position.
- Step 6: Repeat the stroke. Do this 10 to 15 times on one side. Maintain the exact same angle on every single stroke.
- Step 7: Check for a burr. Carefully run your thumb perpendicular to the edge on the opposite side of the blade. You should feel a microscopic lip of metal (the burr). This means you have successfully ground the edge all the way to the apex.
- Step 8: Flip the knife and repeat the entire process on the other side until the burr flips back over.
- Step 9: Refine the edge. Switch to a higher grit stone (or the other side of your combination stone) and perform 5 to 10 very light, alternating strokes (one stroke per side) to polish the edge and remove the burr completely.
Crucial Maintenance Tips
After sharpening, your knife requires proper care to maintain that pristine edge.
- Always wash and thoroughly dry your knife immediately after sharpening. The slurry created on the stone contains abrasive metal particles.
- Use a honing steel (the metal rod that comes with knife blocks) before every cooking session. A steel does not sharpen the knife; it simply realigns the microscopic edge that gets bent during normal chopping.
- Never cut on glass, marble, or ceramic plates. Only use wood or high-quality plastic cutting boards.
Mastering the whetstone transforms food preparation from a chore into a joy. A sharp knife is safer, faster, and drastically improves the visual quality of your ingredients.