
The Ultimate Secret to Perfectly Crispy Bacon: Use the Oven
Stop dodging grease splatters at the stove. Learn why restaurants bake their bacon on wire racks for perfectly flat, shatteringly crisp results.
The Chaos of the Skillet
Frying bacon in a skillet on the stovetop is the traditional American method, but it is deeply flawed. As the bacon cooks, the fat renders out, and the meat begins to curl and shrink violently. You end up with twisted strips of bacon that are burnt black on the edges and flabby and raw in the center.
Furthermore, the stovetop method requires constant babysitting. You have to stand over a hot stove, flipping the bacon constantly while dodging tiny, painful explosions of popping grease that cover your countertops (and your shirt) in a microscopic layer of oil.
The Restaurant Solution
Professional kitchens do not have the time to babysit a skillet of bacon, and they need the strips to be perfectly flat so they stack neatly on a BLT sandwich. The solution is entirely passive: the oven.
- The oven provides a consistent, 360-degree ambient heat environment, cooking the bacon evenly from all sides without the intense, localized heat of a burner.
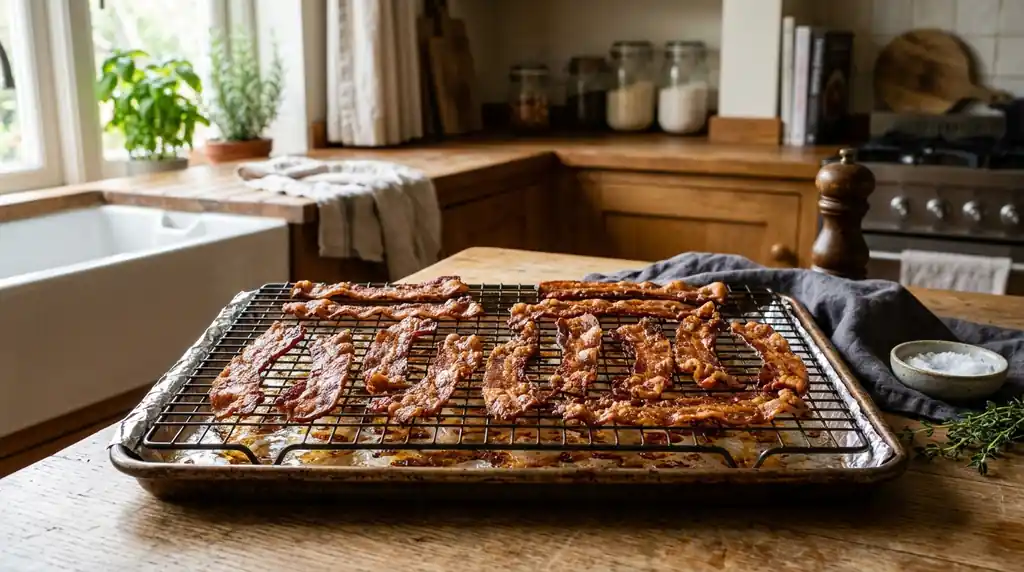
- By elevating the bacon on a wire rack, the rendered fat drips away from the meat instead of the meat boiling in a puddle of its own grease.
- This allows the hot air to circulate completely around the strip, dehydrating it into a perfectly flat, shatteringly crisp piece of meat.
Step-by-Step Oven Bacon
This method allows you to cook a massive pound of bacon all at once while you focus on making the eggs and pancakes on the stove.
- Step 1: Preheat your oven to 400°F (200°C).
- Step 2: Line a heavy-duty, rimmed baking sheet with aluminum foil. Do not skip the foil, or the cleanup will be miserable.
- Step 3: Place a wire cooling rack (the kind you use for cookies) inside the foil-lined baking sheet.
- Step 4: Lay the strips of raw bacon flat across the wire rack. They can be touching side-by-side, but do not overlap them, or they will stick together.
- Step 5: Place the tray in the center of the hot oven. (For even flatter bacon, place a second wire rack directly on top of the bacon to weigh it down, though this is usually unnecessary).
- Step 6: Bake for 15 to 20 minutes. The exact time depends entirely on the thickness of the bacon (thick-cut bacon may take up to 25 minutes). Start checking at the 12-minute mark.
- Step 7: Remove the tray when the bacon is deeply golden and bubbly. The bacon will still look slightly floppy; do not worry. It continues to crisp significantly as it cools.
- Step 8: Use tongs to transfer the hot bacon strips to a plate lined with paper towels to drain the residual grease.
Managing the Liquid Gold
Baking bacon leaves you with a pristine pool of rendered fat trapped in the foil.
- Let the foil pan sit on the counter for 15 minutes to cool slightly.
- Carefully pour the liquid bacon fat (liquid gold) through a fine-mesh strainer into a glass jar. Keep it in the fridge to fry potatoes or eggs in later.
- Once the remaining fat in the pan solidifies, simply crumple up the foil and throw it in the trash. Zero pan scrubbing required.
Switching to the oven method eliminates the mess, the burns, and the curled, unevenly cooked meat, guaranteeing a perfect breakfast every time.