
Demystifying Baking Measurements: Cups vs. Grams
Why did your cookies turn out flat and greasy while your friend's were thick and chewy using the exact same recipe? The culprit is almost certainly how you measured your flour.
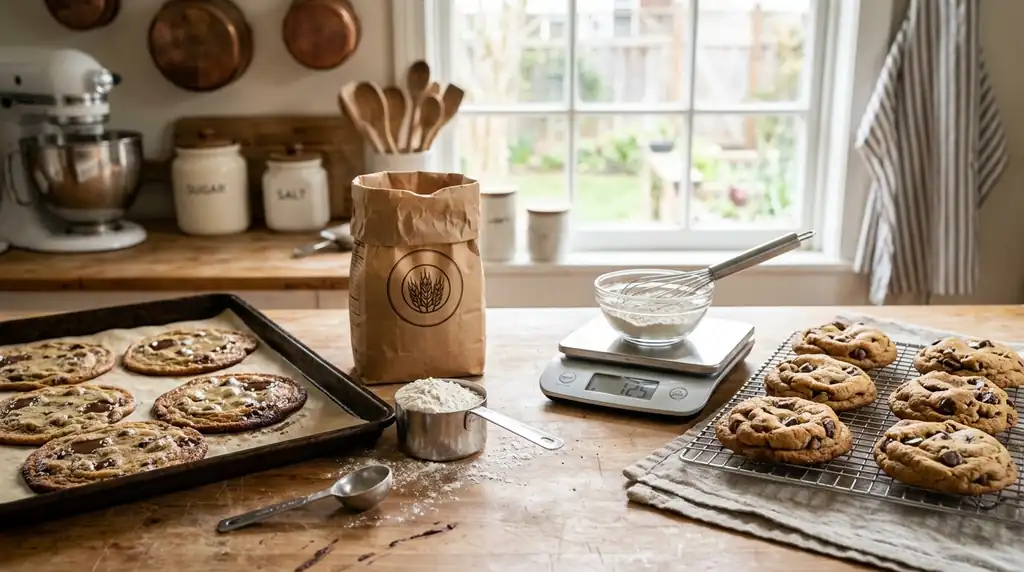
Baking is Chemistry, Not Art
Cooking a savory stew is an art form. You can add a handful of extra carrots, a splash of wine, and a pinch of chili flakes on a whim, and the dish will likely turn out fantastic. Baking, however, is an exact science.
In baking, ingredients rely on precise chemical reactions. The ratio of flour (structure) to fat (tenderness) to sugar (moisture) must be exact. If you alter these ratios even slightly, the chemical reactions fail, resulting in sunken cakes, dense breads, and spread-out cookies.
The Problem with Volumetric Cups
In North America, most home bakers use volumetric measuring cups (e.g., 1 cup of flour). This is inherently flawed because the volume of an ingredient can change drastically based on how it is packed.
- If you scoop a measuring cup directly into a bag of flour, you compress the flour into the cup. A packed cup of flour can weigh up to 150 grams.
- If you sift the flour first and gently spoon it into the cup, it is aerated and light. That same cup might only weigh 110 grams.
- This 40-gram discrepancy means you could accidentally be adding 30% more flour to your recipe than the author intended, guaranteeing a dry, dense, heavy bake.
Step-by-Step: The Professional Method
The only way to guarantee consistent, perfect results every single time is to measure your ingredients by weight using a digital kitchen scale.
- Step 1: Purchase a digital kitchen scale. They are inexpensive, easy to store, and absolutely mandatory for serious baking.
- Step 2: Place your empty mixing bowl onto the scale.
- Step 3: Press the "Tare" or "Zero" button. This subtracts the weight of the bowl, bringing the scale back to zero.
- Step 4: Pour your first ingredient (e.g., flour) directly into the bowl until the scale reads the exact gram measurement required by the recipe (e.g., 120g for one standard cup).
- Step 5: Press the "Tare" button again to bring the scale back to zero.
- Step 6: Add your next ingredient (e.g., sugar) until you hit the required weight.
- Step 7: Repeat this process. You save a massive amount of time, guarantee perfect precision, and you do not have to wash a dozen measuring cups when you are finished.
How to Measure with Cups Correctly (If You Must)
If you absolutely refuse to buy a scale, you must change how you use your measuring cups to minimize the margin of error.
- Never dip the cup into the bag of flour. This creates a dense, heavy brick of flour.
- Use the "Spoon and Level" method: Use a spoon to fluff the flour in the bag. Gently spoon the light, aerated flour into your measuring cup until it forms a mound over the top.
- Do not tap the cup on the counter (this packs it down). Use the straight, flat edge of a butter knife to sweep across the top of the cup, leveling off the excess flour.
Switching to a digital scale will instantly elevate the quality of your baked goods, taking the guesswork out of the chemistry and allowing you to bake with absolute confidence.